Embroidery Essentials for Kids! A Guide for Parents.
Keep crafty hands busy this summer with a relaxing and fun sewing activity!
Do you need ideas for keeping creative minds and nimble hands busy this summer? Embroidery is a perfect activity for kids who love sewing and want to do more at home! This guide has everything you need to know to get kids in 1st-6th grade started with embroidery!
Embroidery is a relaxing, meditative activity that can be enjoyed alongside music, audiobooks, and shows. We can stitch away the mind-scrambling effects of short form media, promoting calm and focus while building excellent fine motor coordination skills! While some aspects of sewing projects (such as cutting out fabric, assembling 3d shapes, or using a sewing machine) can be messy or require lots of hands-on parental supervision, the fundamental steps of embroidery are easy enough for young kids to master independently – convenient for you and super empowering for them! While the basics are easy to pick up, there are infinite possibilities for skill development & creativity!
Small spaces that afford us city dwellers very little room for activities. Fortunately, the materials for embroidery are inexpensive, easy to find, and compact, and can provide hours of enriching fun. It’s easy and affordable to create an embroidery kit for your child at home!
These are the essentials that you will need to get started!
- Embroidery hoop: this tool uses two interlocking wooden (or plastic) hoops to hold fabric flat and taut while we are stitching! You only need one hoop to get started, which can be reused for each embroidery piece!
- These are just a few dollars each at big box craft stores.
- The size of the hoop won’t necessarily dictate or limit the size of projects you can make, so just choose one that will be easy for your child to hold.
- Embroidery floss: the silky, 6 stranded thread that we use for embroidery!
- Embroidery floss is the most affordable when purchased online in larger packages, but you can buy them individually at craft stores for around $1 each if you’re in a pinch, or prefer a super-minimal approach to art supplies.
- Consider purchasing floss that is pre-wound onto bobbins, which will be much easier for children to independently use / clean up!
- Large-eye needles (& a way to store them!)
- Needles for embroidery are large enough to fit the 6-stranded embroidery floss.
- Make sure kids have designated place to store their needles when not in use, such as a scrap of felt, small box, or magnetized surface!
- Scissors – Keep a small pair of scissors on hand to snip threads!
- Fabric – Get started with whatever you have on hand! Coordinating their embroidery design with the background fabric can be a great element to add to the creative process. Just make sure that whatever you use is woven (non-stretchy) fabric!
- If you’re buying new fabric, look for fabric that is densely woven with coarse fibers, such as canvas, burlap, or linen.
- You can even embroider directly onto clothing!
These optional items are helpful but not mandatory! Often, they will be included in starter kits of various sewing / embroidery tools.
- Needle threader – with patience and practice, kids CAN thread needles and tie knots! This tool might make things a little bit easier on them, and help them work more independently.
- Transfer paper or disappearing ink markers – For kids who are ready to work on more detailed projects, these speciality items can help them create a very polished finished product!
- Sketching the design with a marker (younger kids) or pencil (older kids) works perfectly well to start with!
There are a few steps of the process that kids may need some help with initially. After a bit of guided practice, these are all things they will be able to learn to do independently!
- Putting fabric into and removing it from the embroidery hoop
- Threading a needle & tying a knot – we’ve noticed that the “double up” method is great little hands – no more thread slipping out of the needle!
Now that we have everything we need to get started, here are some project ideas to get inspired by!
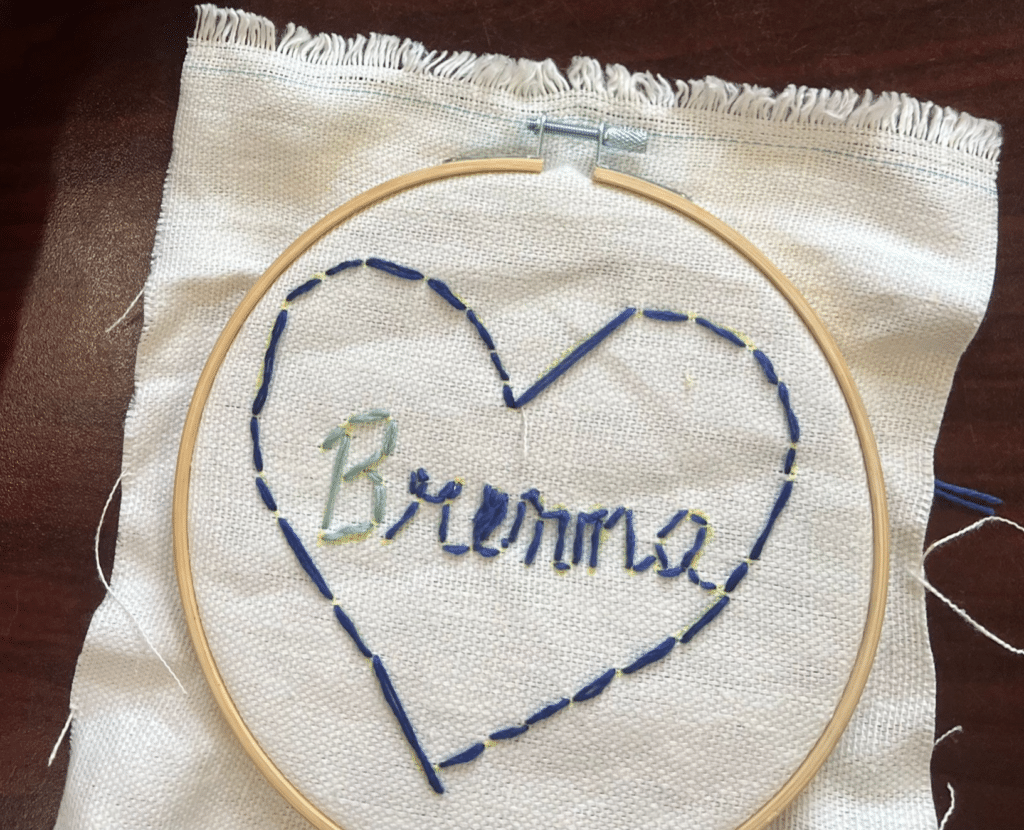
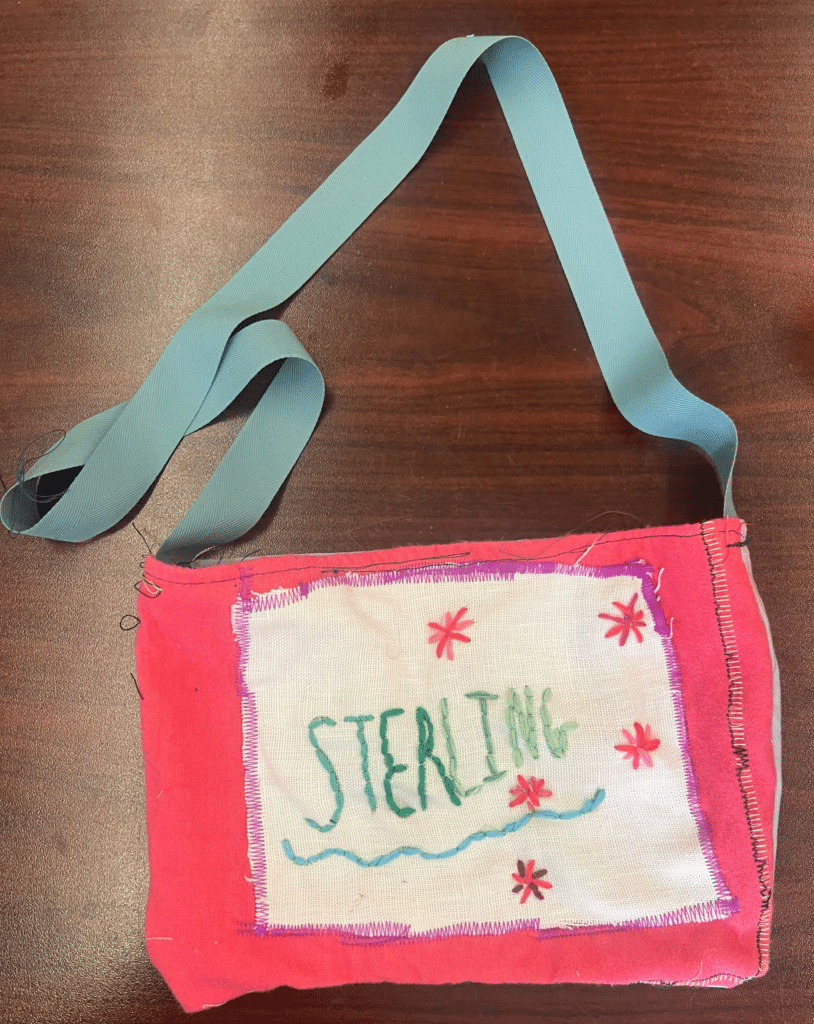
- Embroider your name in cursive! Consult a cursive letter chart and learn how to write your name in cursive. You can stitch your entire design with one continuous backstitch line! Use this fabric as a cute embroidered name patch for a backpack or jacket.

- Try a stitch sampler! Hone your technical skills by completing a stitch sampler! Kits including fabric with pre-printed guided are readily available, or you can make your own and choose exactly which stitches you want to try!
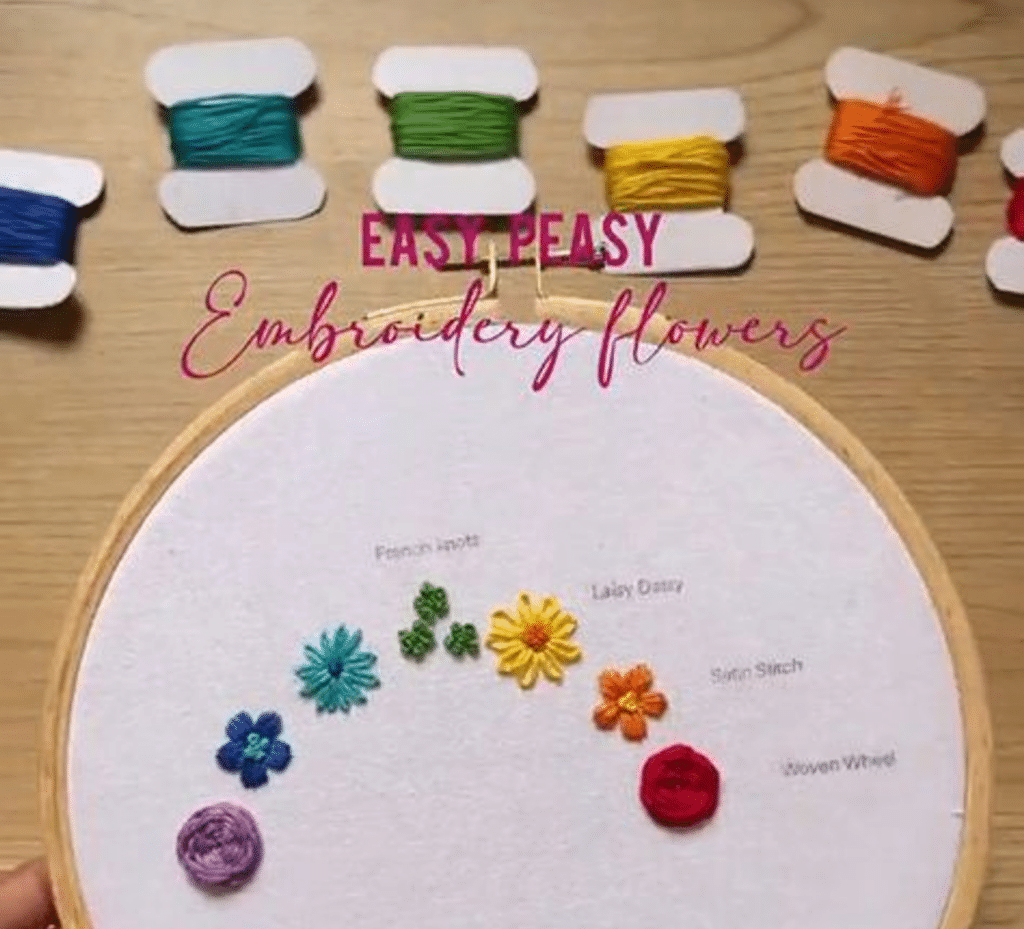
- Embroider some flowers! There are so many different techniques to easily stitch up all kinds of cute flowers and other small motifs. Try embellishing a plain article of clothing or accessory with these!
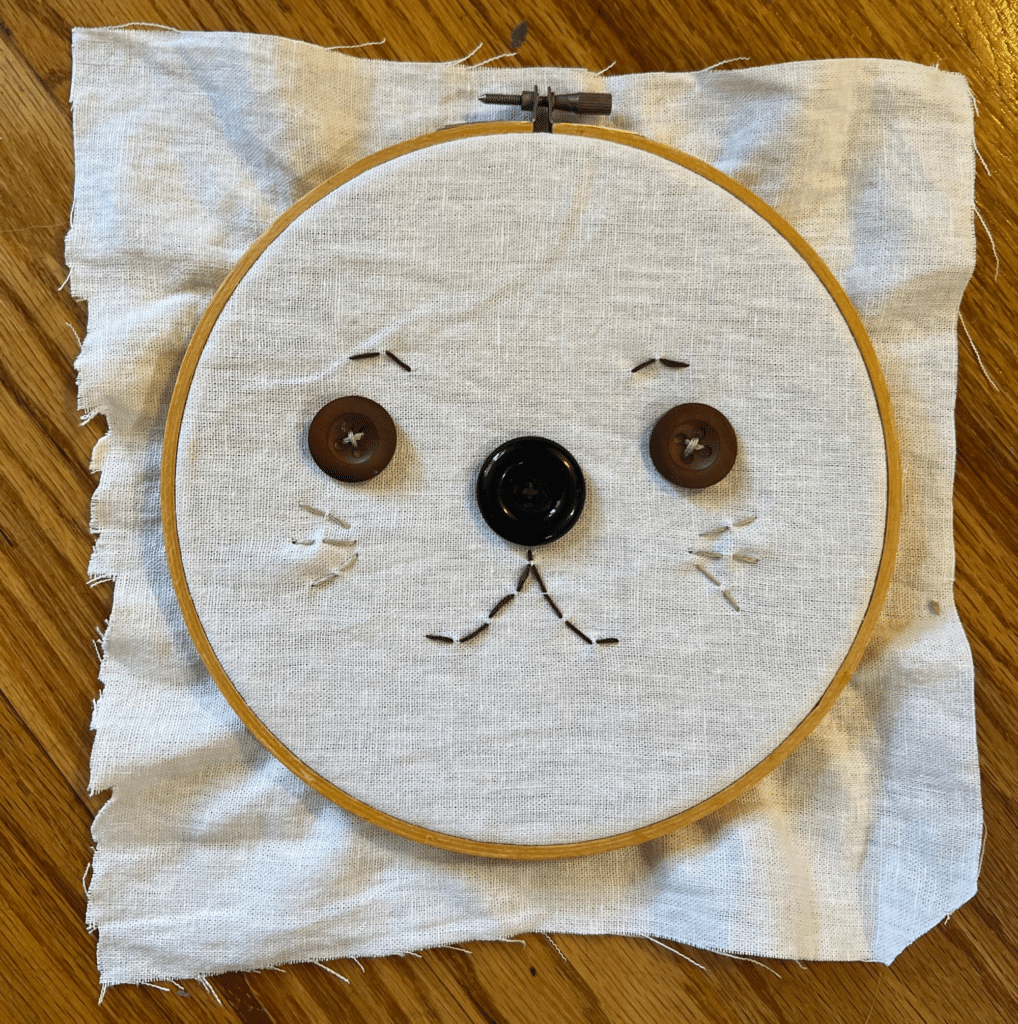
- Make it multimedia! Incorporate buttons, beads, appliques, and other materials into your embroidery design.
Embroidery is a fantastic all-ages sewing activity to spark creativity and build confidence for children. Kids can start with simple projects, then go on to master more complex techniques. The relaxing, meditative process of stitching will foster patience and mindfulness, while nurturing a lifetime of creativity!
Visit theCIFA.org to check out our in-person fashion and sewing classes for kids in NYC, and online fashion arts workshop in October 2024!
